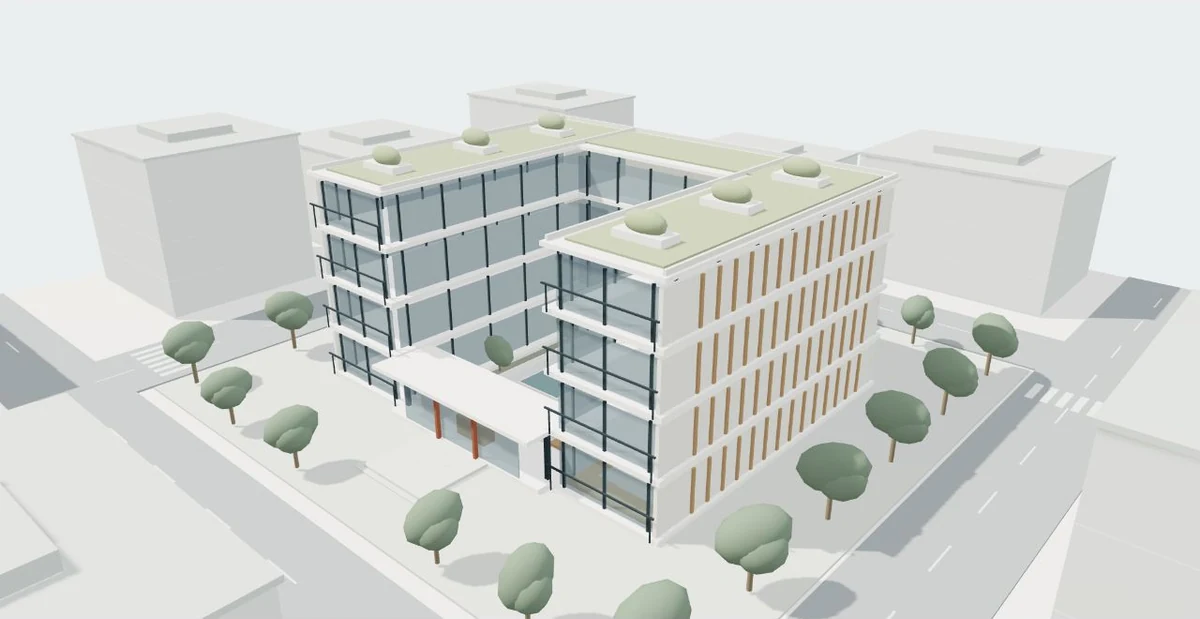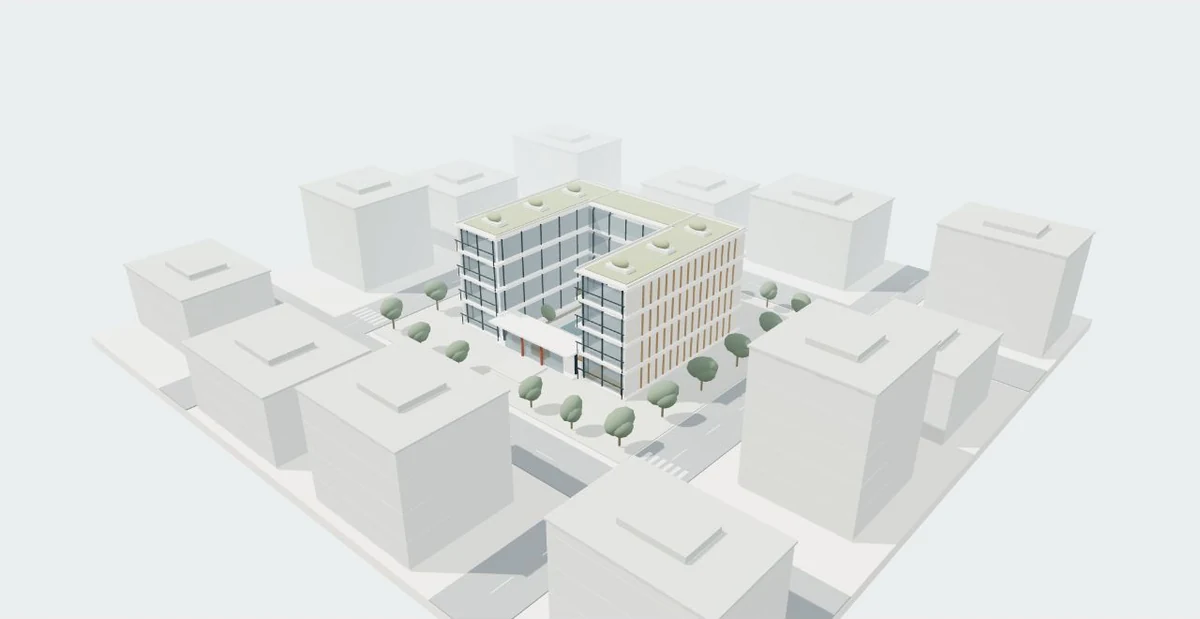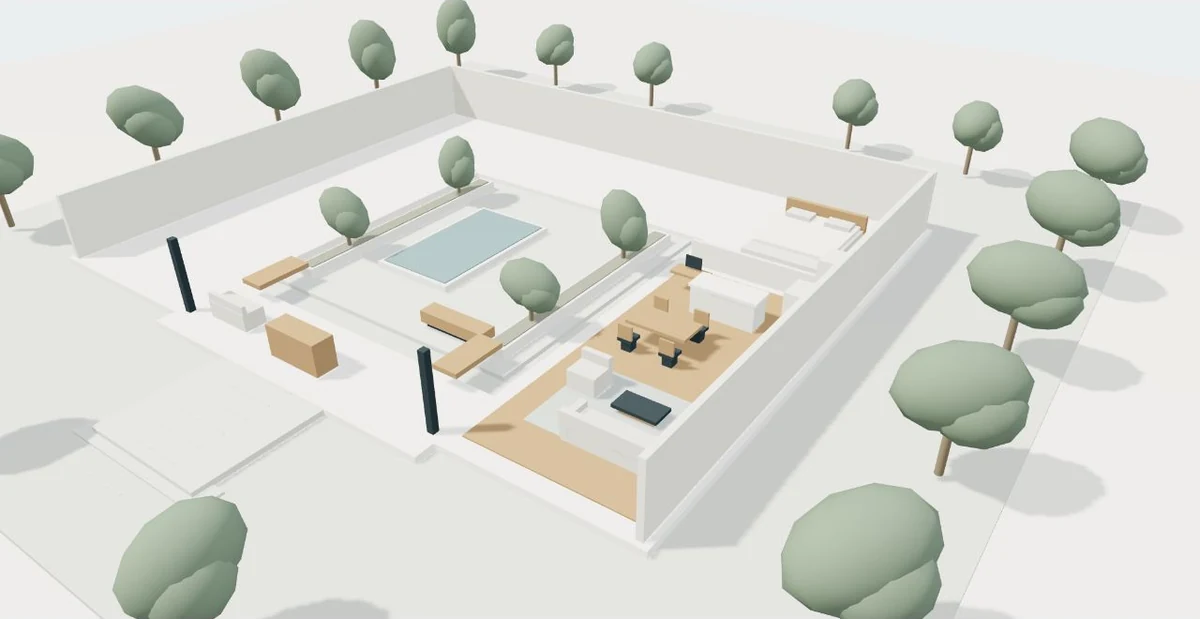
You do not need a perfect folder to begin a conversation about a virtual tour. You do need to explain what exists, what is current and what remains undecided. A thoughtful information package helps the visualization team distinguish modeling work from interpretation, so the proposal can reflect the actual project.
Describe the project before attaching files
Start with the project type, design stage, approximate extent and intended audience. A single-house interior for design review needs a different brief from a multi-building development presented to potential buyers. State which decision the tour should help someone make and where it will be viewed: a public website, an internal meeting or a presentation on a large screen.
Then describe the spaces included. “Ground floor and courtyard, excluding service areas” is more useful than “the whole project” when the current information only covers one level. Identify who can approve architectural interpretation and who coordinates comments. If the architect, developer and interior designer each make decisions, the brief should explain how their responses will become one agreed direction.
Build a file inventory with revisions
List what you have before deciding what to send. Typical inputs include dimensioned floor plans, sections, elevations, an existing model, a material schedule and reference images. A PDF can explain intent, but a perspective render alone may not resolve dimensions or hidden relationships. A model can contain geometry while still lacking approved finishes. These inputs complement one another.
Give every item a recognizable filename, revision and date. Mark whether it is current, superseded or reference only. If two drawings disagree, do not ask the visualization artist to silently choose between them. Record the conflict and name the person who will resolve it. A small issue list prevents attractive but unapproved assumptions from becoming expensive revisions later.
Check scale, levels and position
Units and coordinate systems are practical exchange questions. A receiving team needs to know whether dimensions are in metres, millimetres or feet, which level establishes the vertical reference and whether the model uses a local or geographic origin. Autodesk documents explicit units and coordinate settings for DWG/DXF export; the correct choice depends on the agreed workflow.
Provide one or two known dimensions that can be checked after import, such as a structural grid spacing and a floor-to-floor height. Include the north direction when orientation matters, and say whether surrounding terrain is surveyed or schematic. These simple checks reveal a scale or placement error before materials and camera routes are developed. They do not turn a visualization model into a certified measurement source.
Treat model exchange as a test, not an assumption
buildingSMART defines IFC as an open standard for exchanging BIM information. That is valuable for coordination across tools, but it does not make every export identical. Authoring software, export settings and the receiving workflow affect what arrives. Share the software and version used to create the model, plus any linked files or dependencies needed to understand it.
Revit IFC export options, for example, control linked-file inclusion, visible elements and coordinate bases. A missing building wing may be an export decision rather than a modeling omission. Ask for a small test import or a review screenshot before the full production scope is fixed. Keep the original design file separate from a cleaned visualization export so changes do not accidentally alter the authoritative project.
Work through an example handover package
For a hypothetical two-storey house, a compact manifest might look like the table below. The example uses revision R03 to illustrate consistency, not to prescribe a naming convention. Add a readme that states the intended tour route and identifies the files considered authoritative.
Suppose the section does not show a ceiling recess that appears in a reference render. Record “ceiling recess: confirm depth and extent” rather than estimating it from the image. The team can quote a defined assumption or wait for clarification. Either approach is more transparent than allowing unresolved information to disappear into a photorealistic result.
| Item | Status | What it resolves |
|---|---|---|
| Architecture_R03.ifc | Current design export | Overall geometry and levels; test import required |
| Plans_sections_R03.pdf | Current dimensioned drawings | Room arrangement, heights and critical dimensions |
| Materials_R02.pdf | Reference; approval pending | Finish intent and unresolved substitutions |
| Existing_photos_01–10 | Reference only | Site conditions and visible context |
| Questions_R03.txt | Open decisions | Ceiling recess, terrace edge and landscape extent |
A reliable handover has a review loop
- Inventory files
- Identify current revisions
- Check scale and levels
- Test model exchange
- Resolve open decisions
- Approve the production brief
Share the right amount and keep a change log
An initial inquiry can describe file formats and sizes without exposing the entire source model. Once the project is understood, agree a private sharing method and confirm that you are authorized to provide the drawings, model, photography and references. Avoid public links containing unnecessary personal information or building-security details. A quotation does not require every file to become publicly accessible.
After production starts, keep one change log. Note the affected space, new revision, reason and approval owner. A change to the design is different from correcting a visualization that missed the approved brief. Agree how both are handled. The result is a clearer review process: everyone can see which design is represented, what remains provisional and which decisions are ready for a final presentation.
Ideas to take from this guide
- State project type, stage, audience and intended use.
- List included spaces and exclusions.
- Name the current drawing/model revision and software version.
- Confirm units, levels, origin and check dimensions.
- Label references and unresolved decisions clearly.
- Agree private sharing, an approval owner and a change log.
A useful package makes the design understandable and its uncertainties visible. Begin with a clear inventory; refine the transfer format after a compatibility review.
Sources & further reading
- buildingSMART International — Industry Foundation Classes ↗
- Autodesk Revit — IFC Export Setup Options ↗
- Autodesk Revit — Units and Coordinates for DWG/DXF Exports ↗
Original editorial guidance with hypothetical examples. Product documentation and the project’s approved source files define actual capabilities and scope.