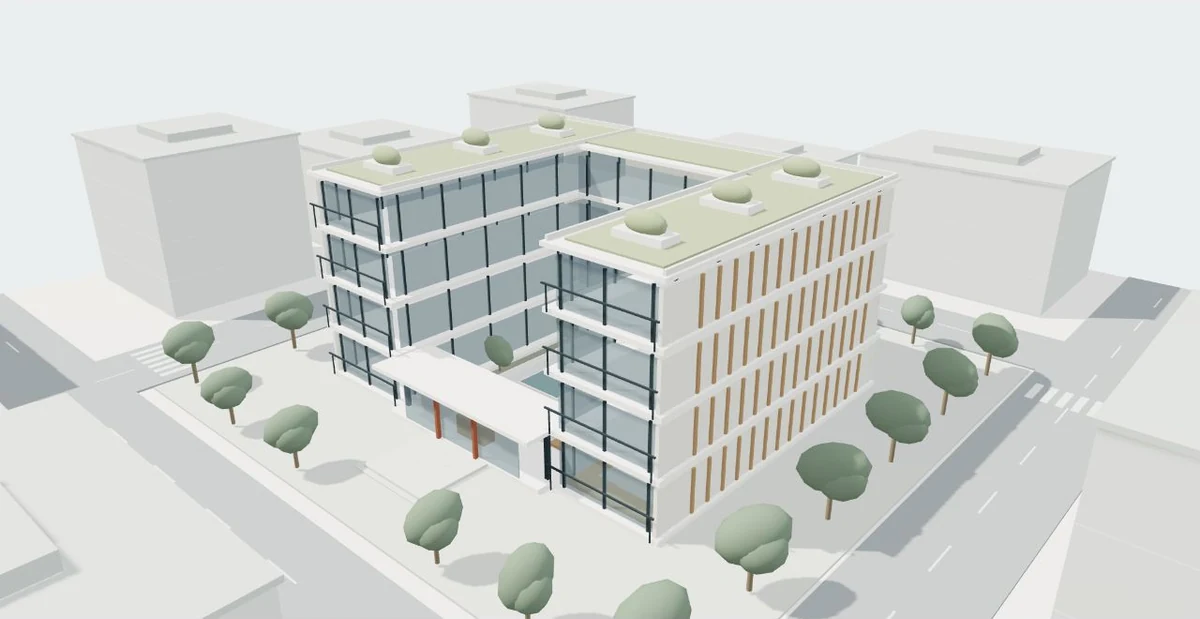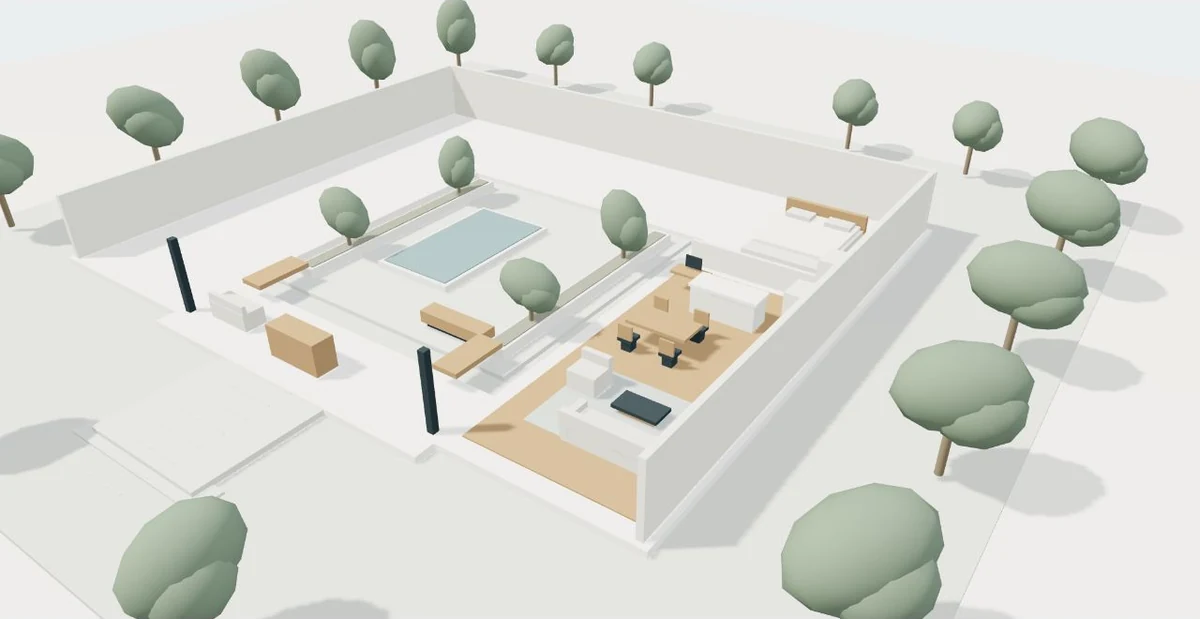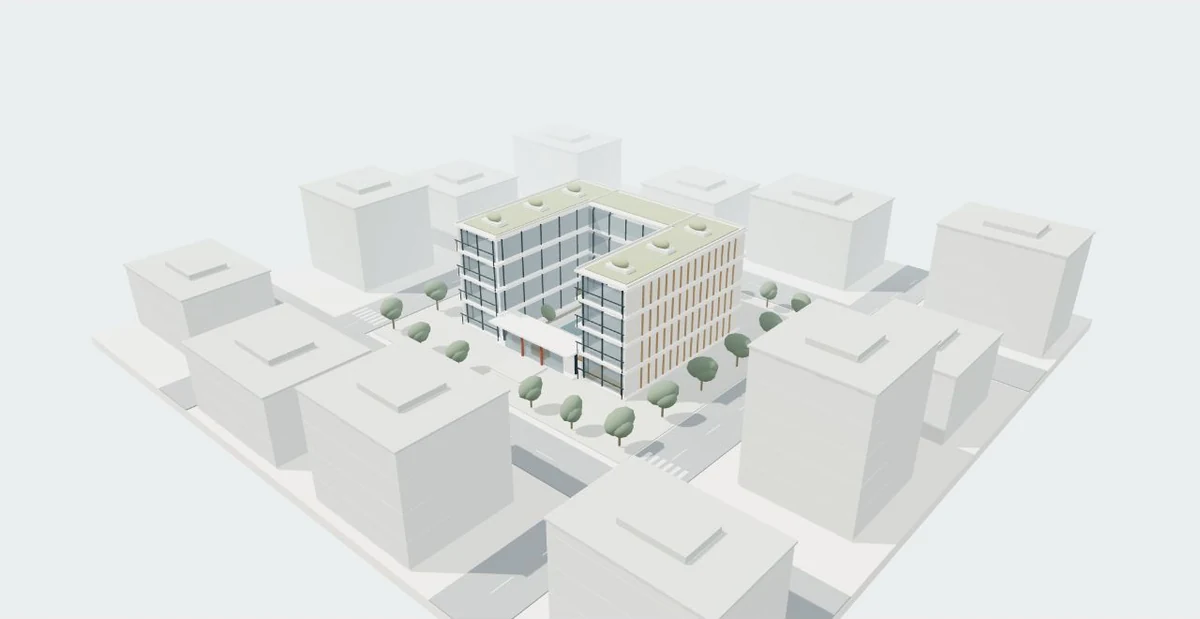
A development is more than an isolated object. Streets, entries, courtyards and neighboring buildings shape how a proposal is understood. A well-planned 3D overview connects those relationships, then lets the viewer move closer when a question requires detail. Start by deciding what each scale needs to explain.
Give every scale a clear purpose
At the city or neighborhood scale, the audience may need orientation: which side of the block is public, where access occurs and how a shared open space relates to the street. At building scale, the important questions shift to entrances, massing and circulation. An interior view can then explain a particular spatial relationship. Showing the same level of detail everywhere can make all three tasks harder.
Write a short viewing goal for each level. For example, a hypothetical residential block might use “understand arrival” for the overview, “locate the entrance” for the building and “see the lobby-to-courtyard connection” for the interior. These goals guide modeling effort and camera placement. If an object does not help answer a relevant question, it may belong in a later detail layer rather than the initial scene.
Distinguish existing, proposed and schematic context
Context carries meaning. A viewer can interpret a carefully rendered neighboring building, mature tree or transit stop as a factual statement. Agree which context comes from current project documents, which represents a proposal and which is only schematic massing. Use an accessible legend or explanatory text instead of relying exclusively on color to communicate those differences.
The same principle applies to terrain and dimensions. A conceptual block can show relationships without claiming a real address or survey accuracy. A georeferenced presentation needs authoritative location information and an agreed source for surrounding data. State the date or revision of the information used. If an adjacent plot is unknown, simple neutral massing with a clear label is more honest than inventing an apparently finished design.
Make the zoom sequence a navigation system
A dramatic camera move can look impressive while leaving someone unsure where they landed. Offer named destinations such as “Block overview,” “Main entrance” and “Courtyard.” Keep a reset action visible and explain the currently selected view. A short transition may help orientation, but it should not become the only way to understand the relationship between views.
Design a return route as carefully as the approach. After examining an interior, a visitor should be able to recover the overview with one clear action. A simple 2D plan or text description can reinforce where the selected space sits. On touch devices, avoid a scene that captures every swipe and prevents ordinary page scrolling. Let the visitor choose when to explore and when to continue reading.
Use detail according to the data problem
Large city datasets and small conceptual developments are different technical problems. OGC 3D Tiles is designed for streaming large, heterogeneous 3D geospatial content. Cesium explains how tiled content can be delivered with levels of detail. That approach becomes relevant when the experience truly needs extensive measured or georeferenced surroundings, rather than a small set of schematic blocks.
For a compact demonstration, a deliberately authored local scene may be more appropriate. The brief should explain the required extent, closest viewing distance and target devices before choosing a pipeline. If real project geometry must align with terrain or other models, coordinate information matters: Revit IFC exports, for example, offer different coordinate bases and choices for linked files. Confirm alignment with a review test rather than assuming export settings are interchangeable.
Plan a fictional three-building block
Imagine three proposed residential buildings around a common garden. The initial view shows a simplified surrounding grid, pedestrian arrival and the courtyard. Selecting one building moves to an entry view; selecting the lobby opens a closer spatial study. This is a conceptual communication example, not a representation of a real approved development.
The table assigns a decision and a data requirement to each view. Notice that detail increases where the question becomes specific. Decorative traffic or extensive interiors would add production work without necessarily improving these tasks. A later phase could add another building or apartment type after the initial sequence has been tested.
| View | Question it answers | Information required |
|---|---|---|
| Block overview | How do streets and shared space connect? | Site arrangement; context labeled schematic or verified |
| Building approach | Where is the main entrance? | Approved entrance location and exterior geometry |
| Lobby | How does arrival lead to the courtyard? | Plan, section, key dimensions and material intent |
| Return overview | Which part of the development did I inspect? | Consistent orientation and a visible selected-building state |
Move closer only when the question needs detail
- Block and access
- Selected building
- Entrance and arrival
- Lobby connection
- Courtyard relationship
- Return to overview
Agree what the presentation can establish
A tour can communicate proposed access, massing and spatial sequence. It does not independently establish planning approval, ownership, boundary accuracy or regulatory compliance. Keep those statements tied to the responsible documents and reviewers. If the model includes sunlight, views or measurements, specify the assumptions and intended use rather than inviting the audience to treat every image as a verified analysis.
Before release, ask an unfamiliar reviewer to locate the entrance, identify the selected building and return to the overview. Test that task on a phone and with the visible viewpoint buttons alone. Check labels against the current design revision. A successful masterplan tour makes the development easier to read; the most useful measure is whether people can explain its important relationships after exploring it.
Ideas to take from this guide
- Define a question for the block, building and interior scales.
- Label existing, proposed and schematic context.
- Identify source dates, revisions and coordinate requirements.
- Provide named views, selected states and a reset action.
- Match detail to viewing distance and target devices.
- Review orientation and architectural facts before publication.
A useful masterplan tour is a sequence of understandable relationships. Build the context needed for the question, then reveal detail with clear destinations and reliable orientation.
Sources & further reading
- Open Geospatial Consortium — 3D Tiles Standard ↗
- Cesium — 3D Tiles ↗
- Autodesk Revit — IFC Export Setup Options ↗
Original editorial guidance with hypothetical examples. Product documentation and the project’s approved source files define actual capabilities and scope.