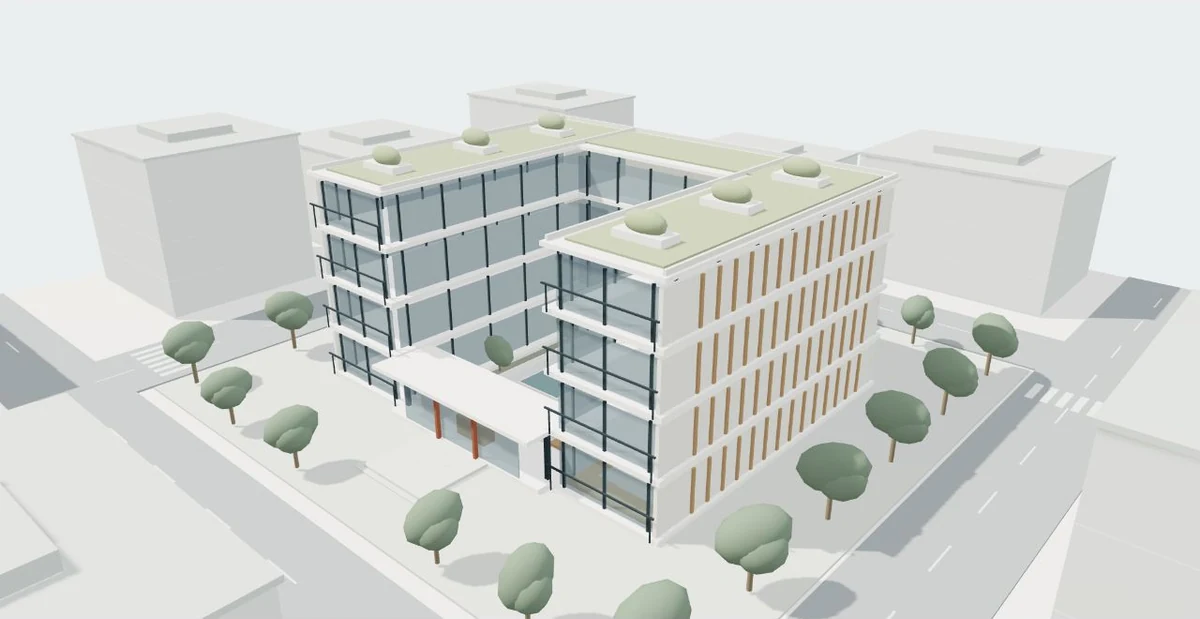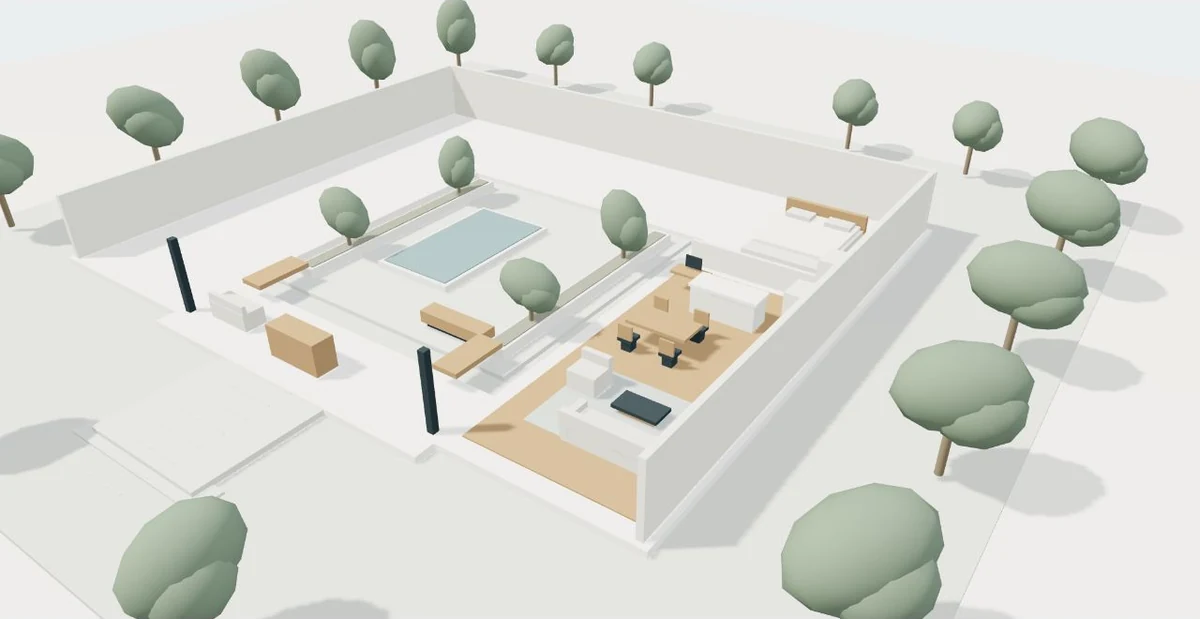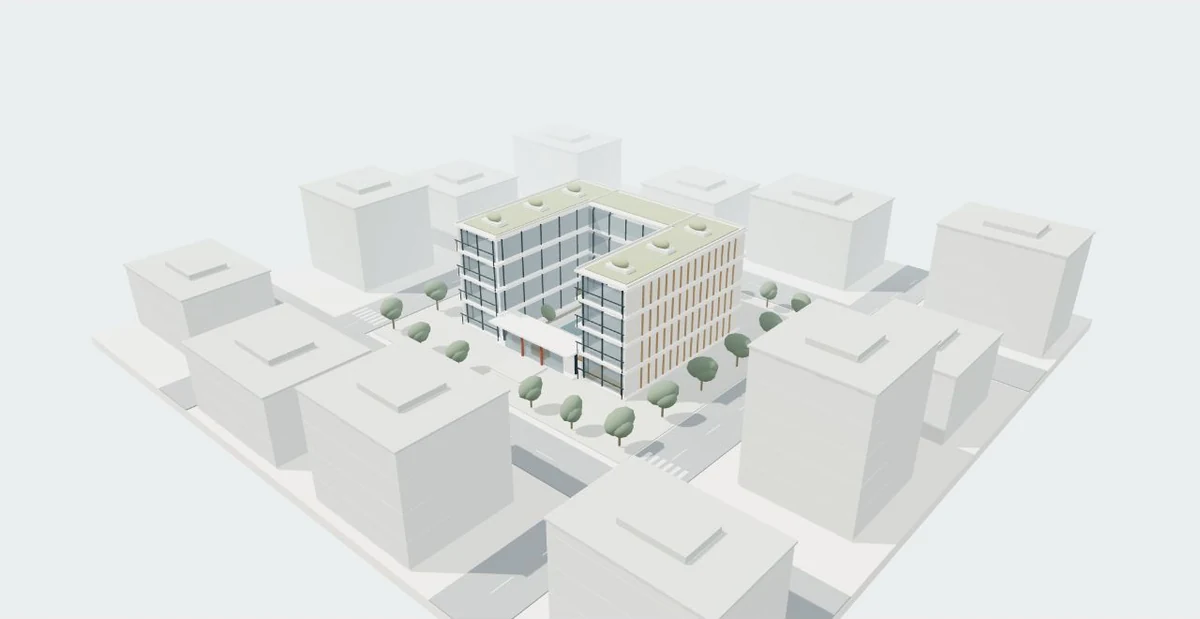
An unbuilt project asks people to imagine a place that they cannot yet visit. A tour can make the arrangement of spaces more understandable, especially when drawings feel abstract. The strongest presentation connects its appealing images to clear information about the design stage, included spaces and decisions that are still evolving.
Decide which conversation the tour should support
A proposal review, a public launch and an individual sales conversation have different needs. In a review, people may compare alternatives and flag unresolved details. A public visitor usually needs a short introduction and an easy route through the main spaces. A guided meeting might require an overview, selected unit types and a way to answer questions without interrupting the conversation.
Write down the audience, their likely questions and the next action. For a hypothetical apartment development, that could be: understand the shared arrival, compare one layout with another and request current availability from the project team. Keep availability, prices and commercial terms in a maintained source. A static visual should not silently become the authority for information that changes independently of the design.
Match the output to the communication task
Professional visualization providers separate still imagery, films and interactive presentations for a reason. Brick Visual describes several architectural communication outputs, while The Boundary presents Realspace as a distinct sales-presentation product. These examples suggest a useful procurement habit: specify what the visitor does, rather than purchasing a vague bundle called a virtual experience.
An opening film can establish the idea quickly. Linked panoramas can explain selected rooms, including environments rendered before construction. An interactive overview can let a visitor select a building or view. Combining formats is worthwhile when each contributes something specific. It is less helpful when the website makes people wait for several large assets before they learn what is being offered.
Create an information layer around the images
An image can communicate arrangement, atmosphere and material intent at once. Those qualities need different labels. Name the project stage and represented design revision. State which furniture or landscape elements are illustrative when they are not part of the agreed specification. Keep the qualification near the relevant view, using readable text rather than a tiny caption hidden far below the experience.
Use clear names for rooms and viewpoints. If the tour presents one representative unit, say so and identify its type. If a finish switcher shows optional choices, distinguish options from the base proposal. A viewer should be able to tell whether a change affects only presentation or represents an actual design alternative. Ask the responsible project team to approve this information layer alongside the imagery.
Build the route around architectural relationships
A useful route often follows a few connections: street to entrance, entrance to shared space, living area to outdoors. Choose viewpoints that reveal these relationships and maintain a consistent sense of orientation. A beautiful corner view may be less informative than a slightly wider view showing where two rooms connect. Plan the story before committing to detailed rendering.
Offer an overview and named destinations so visitors can explore in their own order. Give each destination one clear question to answer. For example, the kitchen view can show circulation around an island without implying that every appliance shown is included in a purchase. If exact dimensions matter, direct the reader to the current approved plan or specification and identify the relevant revision.
Use a versioned annotation table
Consider a fictional apartment presentation with three scenes. The project has an approved layout but a provisional planting plan. The table shows how each scene can remain useful while making its information status visible. The source column creates an audit trail for review; the public label column translates that status into ordinary language.
Suppose a terrace door moves after the first review. Updating only the floor plan leaves the old panorama inconsistent. Mark every affected scene in the change log, then review the route again. A versioned annotation table makes these connections easier to track. It also helps the team separate a design change from a correction to an image that did not match the approved input.
| Scene | Design source | Public explanation |
|---|---|---|
| Arrival and shared entry | Access plan R04 | Proposed entrance arrangement |
| Representative apartment | Unit B plan R04 | Example of Unit B; consult current project documents |
| Terrace and garden | Landscape study R02, provisional | Planting shown illustrates design intent |
| Material alternative | Finish selection awaiting approval | Optional presentation study; specification to be confirmed |
Keep presentation and design information aligned
- Define the audience
- Choose spatial questions
- Approve the design basis
- Build views and labels
- Collect one review
- Update affected scenes
Prepare a useful release and update plan
Before release, test the experience with someone unfamiliar with the proposal. Can they identify the represented unit, find the entrance and understand what remains illustrative? Check mobile navigation, language links and the inquiry route. Review every label after design revisions; copy can become outdated even when the model geometry has been corrected.
Agree who maintains the viewer, where it is hosted and how future changes are requested. A proposal may include initial production and a defined handover while ongoing updates require separate planning. Ask for those boundaries in writing. A good presentation supports informed conversations about a project; its success depends on clear communication, a usable route and a reliable next step rather than an unsupported promise about sales results.
Ideas to take from this guide
- Identify audience, design stage and intended next action.
- Choose formats with a specific role in the presentation.
- Name represented units, revisions and provisional decisions.
- Label illustrative furniture, landscaping and options clearly.
- Track every scene affected by a design change.
- Agree release review, hosting, ownership and future updates.
A compelling off-plan presentation combines strong spatial imagery with a clear information layer. Keep both connected to the same approved design basis.
Sources & further reading
Original editorial guidance with hypothetical examples. Product documentation and the project’s approved source files define actual capabilities and scope.